
How to take a group photo with your phone
Take a group photo where everyone is easy to see. Prepare the spot, leave room for yourself and check every face before the group moves on.
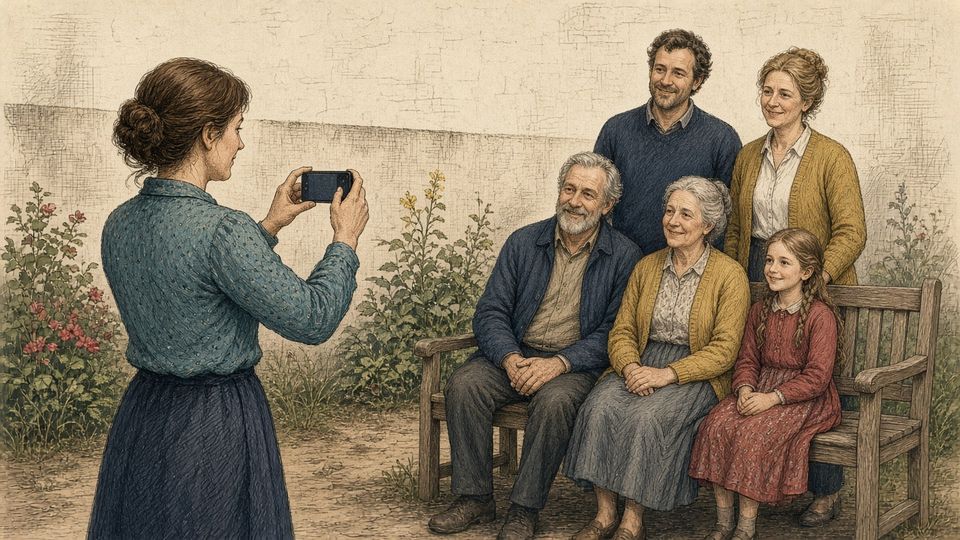
A good group photo starts before everyone is in position. Find a bright spot, arrange people so that every face is visible and take a test shot. Check all the faces, including those at the edges, while the group is still together.
Prepare the spot first
Choose the spot before calling everyone over. Outside, look for shade beside a building with room for the whole group. If half the group is in sunshine and half in shade, it is harder to see everyone clearly.
Indoors, try a spot near a large window. Stand on the window side and have the group face you. Take a photo with one person where the group will be. Can you see their face clearly? If the window behind them stands out instead, try another spot.
Check what is behind the group too. A coat rack full of jackets can draw more attention than your family. Sometimes you only need to move a little to one side. Read more about light and backgrounds in taking better photos.
These images were made with AI to illustrate lighting, positioning and space around the group.
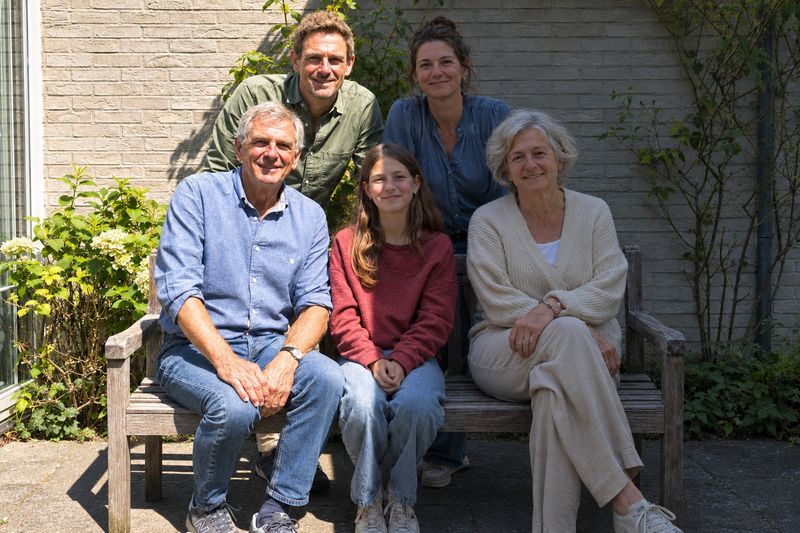
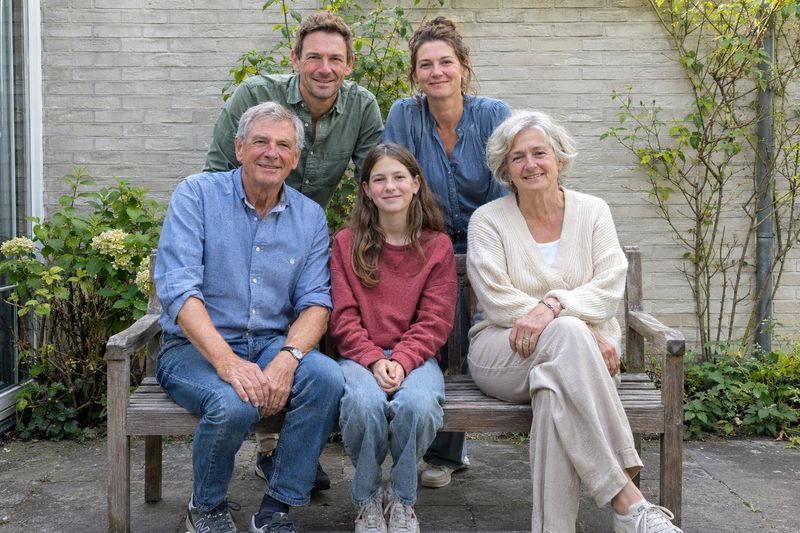
Give every face its own space
With a few people, start with one row standing side by side. Is the row getting too wide? Have some people sit down and the others stand close behind them. Ask the back row to look through the gaps between the heads in front. That keeps their faces visible.
Keep the rows close together. Someone standing several metres behind the others will look smaller, and their face may be less sharp. The group does not need to form a straight line, but avoid spreading people far apart from front to back.
Look at each face on your screen. Can you only see one of someone’s eyes? Ask them to move a little. A different phone setting will not help when a face is hidden behind a shoulder.
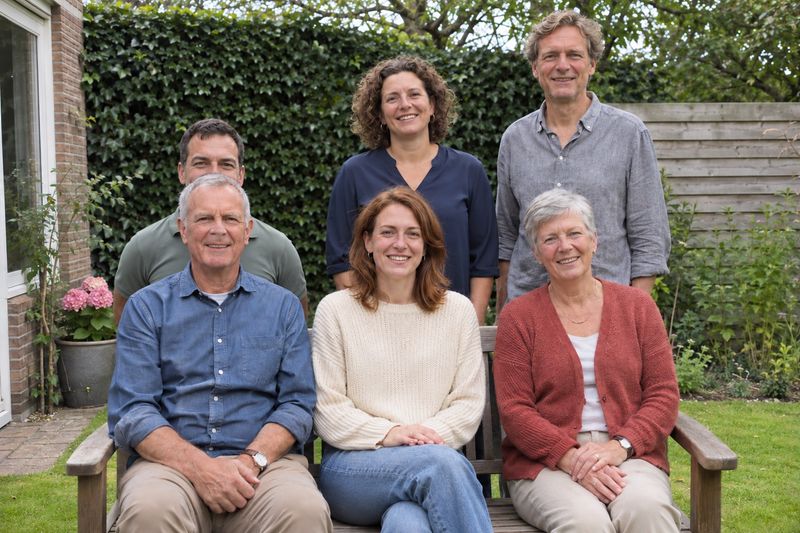

Step back and leave some room
Use the camera on the back of your phone and choose the normal photo mode. Start at 1x if you see that option. Hold the phone horizontally if the group is wider than it is tall. Step back until everyone fits.
Do not switch straight to 0.5x to photograph a wide group from close up. Faces at the edges can look stretched. First try moving further away or making two shorter rows instead of one long one.
Leave a little room beside the outermost people and above everyone’s heads. You can crop some of it later. Cropping will not bring back an arm or the top of a head that was cut off.
Want to be in the photo yourself? Agree now where you will stand. Leave that space empty in the test shot so nobody has to shuffle along later.
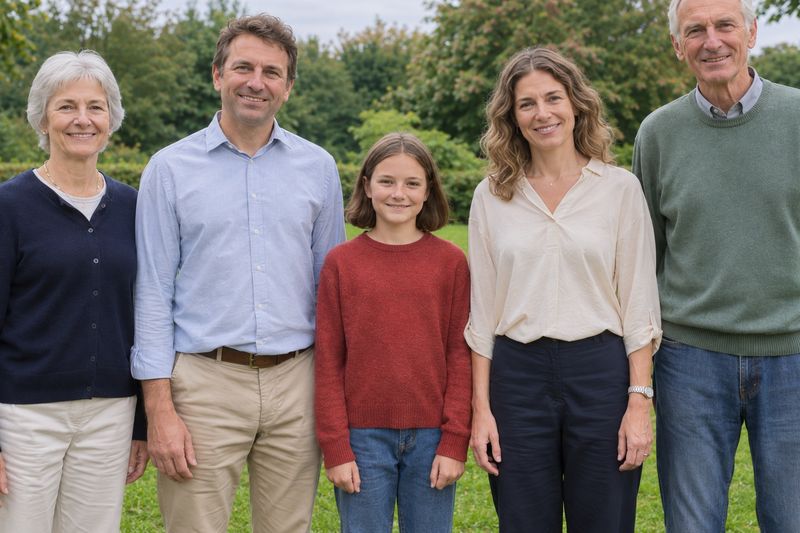
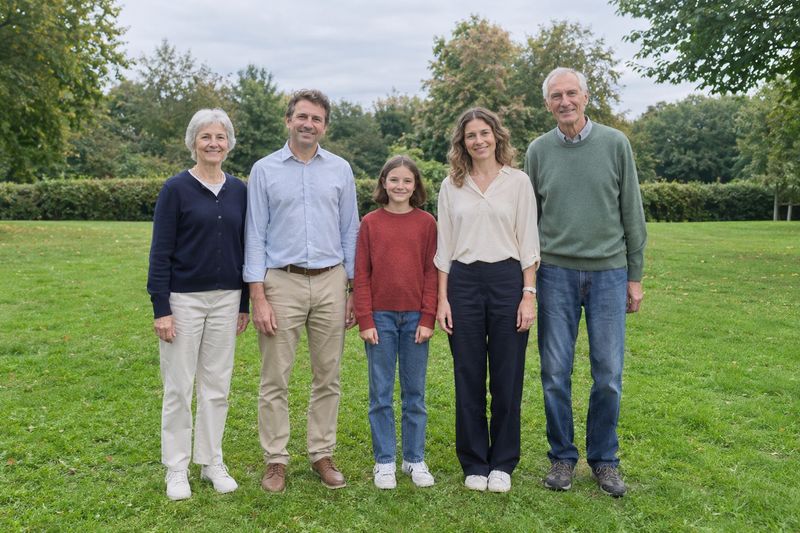
Take a test shot and check every face
Ask the group to look at the lens for a moment and take a photo. Hold your phone still with both hands. Then view the photo and zoom in on the faces, working from one side to the other.
| What do you notice? | What can you change? |
|---|---|
| A face is hidden behind someone. | Ask that person to step a little to one side. |
| The faces look very small in the photo. | Make two shorter rows and move a little closer. |
| The back row is noticeably less sharp. | Bring the rows closer together and take another test shot. |
| Everyone looks dark. | Try facing a different direction in relation to the light. |
| A moving child is blurred while the others are clear. | Also take a photo when the child pauses, preferably in a brighter spot. |


Change one thing at a time so you can see whether it helps. Is someone still out of focus? Try one row or a different spot before carrying on.
Join the photo with the self-timer
Place your phone securely on a shelf or in a phone holder. Keep the lens clear and check that the whole group is still in view. Make sure the phone cannot tip over or slide.
Use the timer in the camera app. It delays the photo so you have time to get into position. On an iPhone, for example, you can choose ten seconds: Apple explains how the camera timer works. The controls differ between phones.
Take a practice shot to check that you can reach your place in time and are fully in view. Look at the photo before starting the timer again.
Take a few more before everyone leaves
Agree that everyone will stay in place for a moment. Let one person say when the photo is being taken. If three people give directions at once, the group can soon end up looking three different ways.
Take a few photos in a row, even if the first one looks good. Someone may have blinked or looked away. Then feel free to ask for a more relaxed photo, perhaps with people looking at each other.
Before you finish, check once more that everyone is visible and the faces are sharp enough. Choose your favourite photo at your leisure later. A small smile or an arm around a shoulder can mean more than a perfectly arranged row of people.